Author: Jegor Janockin
Reviewed by: Curtain.lt editorial team
Last updated:
How to fit a curtain pole or track: a practical guide
- Measure the window opening and add 20–30 cm to its width on each side.
- Mark the brackets 10–15 cm above the frame: end brackets 7–10 cm beyond the edge of the opening, intermediate ones no more than 60–80 cm apart.
- Check what the wall is made of and choose the plug: an expanding plug for concrete; for plasterboard, a Molly-type cavity fixing or a self-tapping screw into a metal stud.
- Drill with a bit the same diameter as the plug and fix the brackets, checking them with a spirit level.
- Fit the pole or track with its rings or gliders, lock it in the brackets and check that the curtain runs freely.

A pole or track runs 20–30 cm past the window opening on each side, on brackets fixed at least 10–15 cm above the window frame or as close to the ceiling as possible. Fitting one takes exact measurements, the right height and plugs that suit the wall. In plasterboard, use Molly-type cavity fixings or screw into the metal studs: ordinary plugs will not carry the load. A pole fitted this way holds the curtains securely and looks right in the room.
The tools you need
Have the tools ready before you start. A tape measure at least 3 m long and a pencil are for measuring the window and marking the brackets. A spirit level is essential: a slope of even 2–3 mm shows plainly once the curtains are hung. Without one, use the level app built into a smartphone.
- A hammer drill with a suitable bit, for concrete or brick walls and ceilings.
- A cordless drill with a bit made for plasterboard.
- A stud detector, to find the metal studs behind plasterboard.
- A spirit level or a laser level: essential.
- A tape measure (3 m or more), a pencil and a hammer.
| Wall | Fixing | Drilling |
|---|---|---|
| Concrete | A plastic expanding plug and a screw | Hammer drill, hammer action on |
| Brick | A universal plug; a long plug for hollow brick | Hammer action for solid brick, none for hollow brick |
| Aerated concrete | A plug made for aerated concrete | No hammer action |
| Plasterboard | A Molly-type cavity fixing, or a self-tapping screw into a metal stud | No hammer action; find the stud with a detector |
| Timber | A long self-tapping screw, no plug needed | Drill a pilot hole with a thin bit |
A general guide: the exact plug and its length are chosen for the wall on site. The bit must be the same diameter as the plug: a 6 mm bit for a 6 mm plug.
Length and overhang
Everything else follows from the measurements. The length of the pole or track is the width of the window opening plus 20–30 cm on each side, so a window 150 cm wide takes a pole 190–210 cm long. Allow at least 20 cm on each side, and 30 cm for thick lined curtains, which take more room when drawn back.
The overhang does two jobs. Drawn back, the curtains stack beside the window instead of over the glass, so the most daylight comes in. Closed, they stop light getting in at the sides, which matters most with blackout curtains.
A worked example: a window 200 cm wide
Pole length: 200 + 20 + 20 = 240 cm. The end brackets go 7–10 cm beyond the edge of the window opening, 10–13 cm in from each end of the pole, so the curtains draw back freely. A third bracket goes exactly in the middle, 120 cm from each end.
Long poles
A pole longer than 2 m needs an extra bracket in the middle, and the brackets are best spaced 60–80 cm apart. Heavy blackout curtains need at least 4 fixing points on a pole of any length, so that it does not bend.
Height: wall or ceiling fixing
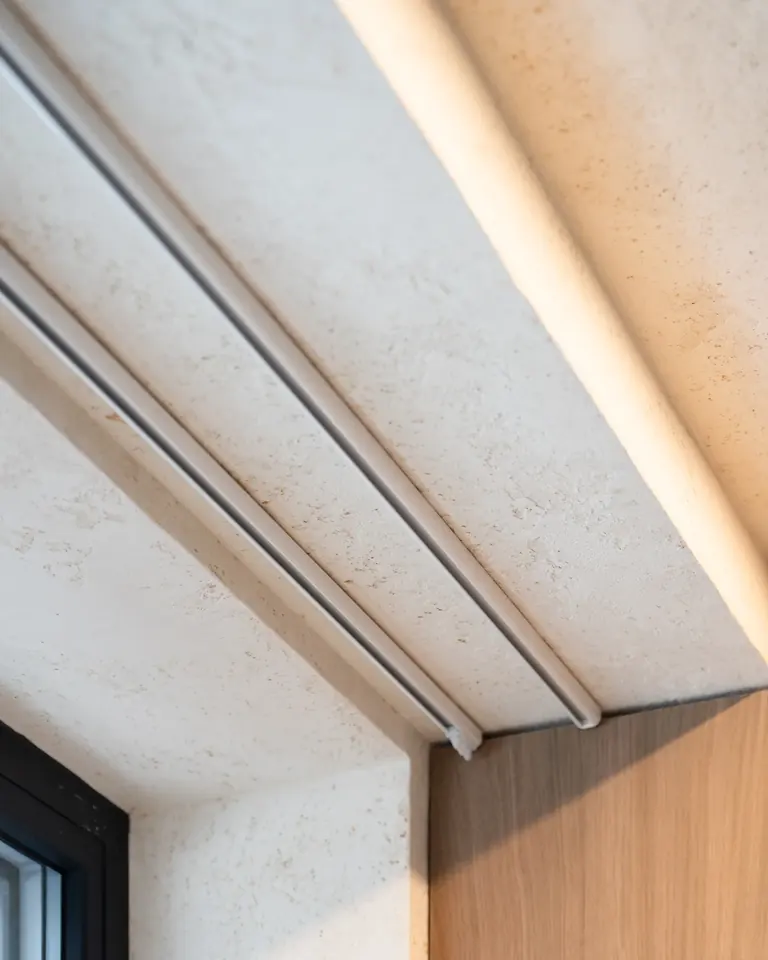
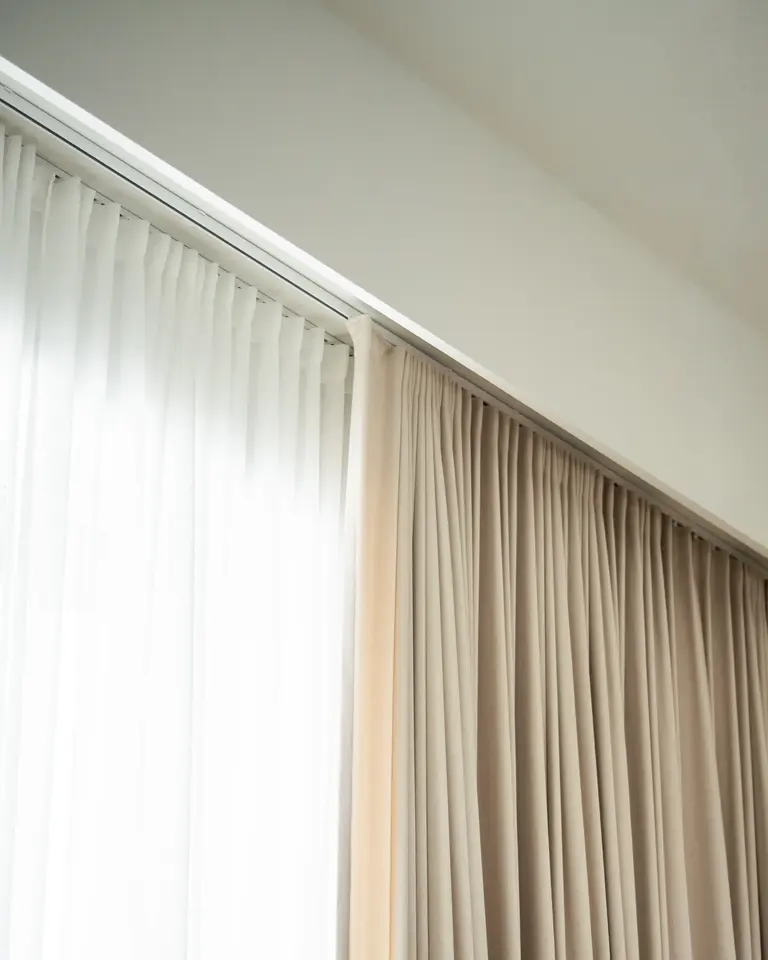
The height of the pole changes how a room looks more than most people expect. On the wall, the standard position is 10–15 cm above the top of the window frame. Where the ceiling is higher than 280 cm, a ceiling track is usually fitted instead, because a wall-fixed pole would leave a wide strip of bare wall above the curtains. In a low room too, a track fixed straight to the ceiling makes the room look taller, because the curtains seem to run from ceiling to floor. It is one of the cheapest and most effective changes you can make to a room.
| Feature | Wall-fixed pole | Ceiling track |
|---|---|---|
| How it looks | Standard, neutral | Makes the room look taller |
| Fitting | Simpler | More involved |
| Heavy curtains | Yes | Yes, with the right anchors |
| Stretch ceilings | Yes | No (not without a special recess) |
| Interior style | Any | Minimalist, modern |
| Advantages | Easier to fit, suits any style | Out of sight, tidy |
Weight and the type of wall
Poles most often come down because the plug did not suit the wall, so find out what the wall is made of under its finish before you drill. Heavy blackout lined curtains weigh several times as much as sheers (the densest fabrics, such as Gravity Blackout, weigh over 350 g/m²), and a wide window adds to the load. That weight needs at least 4 fixing points, brackets no more than 60–80 cm apart and a metal pole: plastic poles suit only light sheers.
Plasterboard
Never use ordinary plastic plugs in plasterboard: they pull straight out of a hollow wall. A Molly bolt goes into the hole, and as its screw is tightened the end opens out behind the board and grips it. The alternative is to find a metal stud with a stud detector and drive a self-tapping screw straight into it. If the wall is uneven, fix one bracket first, measure its distance to the ceiling and set the second bracket to match. Never measure from the floor: floors are often not level.
Fitting in 8 steps
- 1Measure and plan: measure the width of the window opening and add 20–30 cm on each side. Decide the height: the closer to the ceiling, the larger the room looks.
- 2Mark: with the tape measure and pencil, mark the bracket positions on the wall or ceiling, 7–10 cm beyond the edge of the window opening and at the height you want. Use a level line so that both marks are at exactly the same height.
- 3Check the wall: standard plugs for concrete, a Molly bolt or the studs for plasterboard, self-tapping screws for timber. If in doubt, tap the wall: a hollow sound means plasterboard.
- 4Drill: the hole and the plug must be the same diameter, so a 6 mm plug takes a 6 mm bit. In concrete, use a hammer drill with the hammer action on.
- 5Put in the plugs: tap them in with a hammer until they are flush with the wall. A plug that stands proud stops the bracket sitting tight against the wall.
- 6Fix the brackets with screws. Check the level again before the final tightening, so that both brackets are at the same height.
- 7Assemble the pole: put the curtain rings, hooks or track parts on before the pole goes up for good.
- 8Fit the pole and check it: set it in the brackets and lock it with the screws. Check that it is straight, that it holds firmly and that the curtains run smoothly.
The commonest mistakes, and how to avoid them
- 1A pole fitted too low → the curtains seem to hang in mid-air and the room looks lower. The fix: at least 10–15 cm above the window frame, or as close to the ceiling as possible.
- 2A pole no wider than the window → light gets in at the sides. The fix: a pole that runs 20–30 cm past the window on each side.
- 3Ordinary plugs in plasterboard → the pole comes down sooner or later and can hurt someone. The fix: Molly-type plugs only, or a screw into a metal stud.
- 4Brackets right on the window frame → the window cannot open. The fix: keep the brackets at least 7–10 cm from the side edge of the window.
- 5No check with a level → crooked tracks and poles. The fix: always use a level, because even a 3 mm slope shows plainly.
- 6Too few brackets on a long pole → it sags in the middle. The fix: on poles over 2 m, an extra bracket in the middle and no more than 60–80 cm between brackets.
When should you call in a professional?
- Very heavy blackout lined curtains on a wide window: the load has to be calculated exactly and anchors chosen to carry it.
- Plasterboard partitions without a frame: a Molly bolt in them may not hold heavy curtains.
- Complicated ceilings: stretch ceilings, decorative ceiling panels and ceilings with heating in them need special fixings.
- Panoramic and unusual windows: corner, panoramic and odd-sized windows need poles and tracks made to measure for them.
- Electric tracks: fitting one takes electrical knowledge; without experience it is an electrical safety risk, and a wrongly connected motor can fail.
- A track hidden in a ceiling recess: the recess is planned with the plasterboard fitters before the ceiling is closed.
- Curtain pole and track fitting cost → what the fitting costs by type of pole or track
- Ceiling tracks → tracks on the ceiling and in a ceiling recess
- Recessed curtain tracks → what to tell the fitters before the ceiling is closed
In short
Three rules cover most of it. The pole or track runs 20–30 cm past the window on each side. The brackets go at least 10–15 cm above the window frame, or as close to the ceiling as possible. In plasterboard, only Molly-type anchors or a screw into a metal stud will hold. If you are unsure of the wall, the load or a complicated ceiling, a professional's advice saves time and costly mistakes.
Frequently asked questions
How do you measure a window for a curtain pole?
Take the width of the window opening and add 20–30 cm on each side: a window 150 cm wide needs a pole 190–210 cm long. The end brackets go 7–10 cm beyond the edge of the opening, so the curtains draw back freely.
How high above a window should a curtain pole be fitted?
At least 10–15 cm above the window frame, or as close to the ceiling as possible: the higher it goes, the taller the room looks. Where the ceiling is higher than 280 cm, it is usually fixed to the ceiling.
What are the commonest mistakes when fitting a curtain pole?
Fitting the pole too low, using the wrong plugs in plasterboard and putting too few brackets on a long pole. People also forget to check it with a spirit level, and even a 3 mm slope will show. With heavy blackout curtains, the fixings are often too weak, or a plastic pole is used where a metal one is needed.
What is the difference between a ceiling-fixed and a wall-fixed pole?
A wall-fixed pole goes on the wall 10–15 cm above the top of the window frame. A ceiling track is fixed straight to the ceiling and makes the room look taller; it suits rooms with ceilings higher than 280 cm best. Ceiling fixing also works where the wall cannot hold brackets securely.
Which plugs should you use to fix a pole to plasterboard?
Molly-type plugs, or screws straight into the metal studs of the frame. Ordinary plastic plugs will not carry the load in plasterboard and pull out in time. Find the studs with a stud detector before you drill.
How many brackets does a long pole (over 2 m) need?
A pole longer than 2 m needs an extra bracket in the middle, with the brackets best spaced 60–80 cm apart. Heavy blackout curtains need at least 4 fixing points on a pole of any length.
Why is a pole fitted too low a problem?
It makes the ceiling look lower and the room smaller. Curtains hung too low also leave the top of the window opening uncovered, so light comes in over the top. Fit the pole at least 10–15 cm above the window frame, or as close to the ceiling as possible.
How much do blackout curtains weigh, and what does that mean for the fixing?
Blackout lined curtains weigh several times as much as sheers: the densest fabrics, such as Gravity Blackout, weigh over 350 g/m², and a wide window adds to the load. That weight needs at least 4 fixing points, brackets no more than 60–80 cm apart and a metal pole: plastic poles suit only light sheers.
Can a pole be fixed to a stretch ceiling?
Not directly. A stretch ceiling cannot take the load of standard anchors, so a standard ceiling track needs a special structural fixing or a recess. Ask a professional about the other ways of fixing it.
How far should a pole extend beyond the edges of a window?
By 20–30 cm on each side of the window opening: at least 20 cm, and 30 cm for thick lined curtains. That leaves room for the curtains to stack beside the window when drawn back, clear of the glass.
Compare the types of pole and track
Ceiling tracks, wall-fixed poles, recessed tracks and electric tracks compared, with prices.
Open the comparisonWould you rather have it fitted?
For a pole or track fitted exactly and safely the first time, arrange a consultation and a fitting plan.
Arrange a consultationCompare pole and track prices
To choose a pole or track straight after this guide, see the types side by side with what actually sets the fitting price.
See the fitting costPoles and tracks by type of window
Once you know how one is fitted, compare ceiling, wall-fixed and electric tracks for your own windows.
See poles and tracksThe next step
If this guide has answered your questions, move on to a specific product or check your budget.